
Before & After: Refreshing a Small Balcony
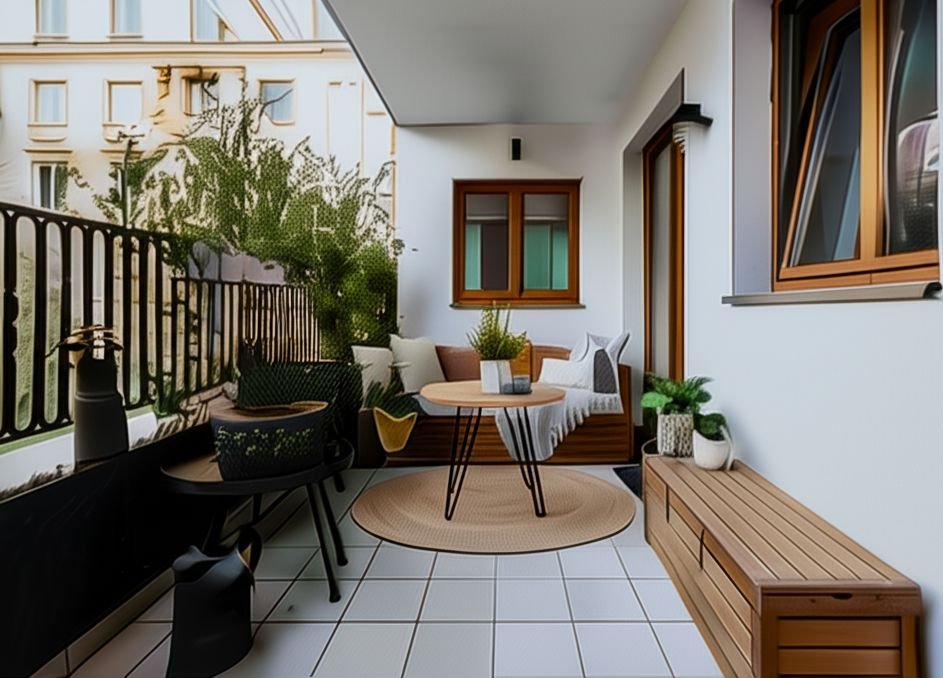
This article details the process of refreshing a small balcony. The goal was to transform an underutilized and somewhat neglected outdoor space into a more inviting and functional extension of the home.
We will explore the various stages of the renovation, from the initial assessment to the final touches, highlighting the practical steps taken and the reasoning behind the choices made.
Initial Assessment and Planning
Before any physical work began, a thorough assessment of the existing balcony was conducted. This involved considering several key factors:
- Current Condition: The balcony floor was composed of standard concrete tiles, showing signs of wear and tear including minor cracks and discoloration. The existing railing, made of painted iron, had some rust spots and the paint was peeling in places. There was no dedicated seating area, and the only items present were a few neglected potted plants and a dusty storage box.
- Desired Outcome: The aim was to create a comfortable and aesthetically pleasing space suitable for relaxation, enjoying a morning coffee, and perhaps cultivating a few plants. The homeowner envisioned a brighter, more organized area that felt like an extension of their indoor living space.
- Budget: A moderate budget was allocated for the project. This necessitated prioritizing cost-effective solutions and potentially undertaking some of the work as a DIY project.
- Constraints: The small size of the balcony (approximately 1.5 meters wide and 3 meters long) presented a key constraint. All design choices needed to maximize the available space and avoid creating a cluttered feel. The local climate, characterized by hot summers and mild, sometimes rainy winters, also influenced material selection.
Based on this assessment, a basic plan was formulated. This included:
- Cleaning and repairing the existing surfaces.
- Introducing comfortable and space-saving seating.
- Adding greenery to enhance the ambiance.
- Improving the overall aesthetics through color and décor.
- Considering practical storage solutions.
Cleaning and Repairing Existing Surfaces

The first practical step was to address the existing surfaces. This involved a thorough cleaning and some minor repairs.
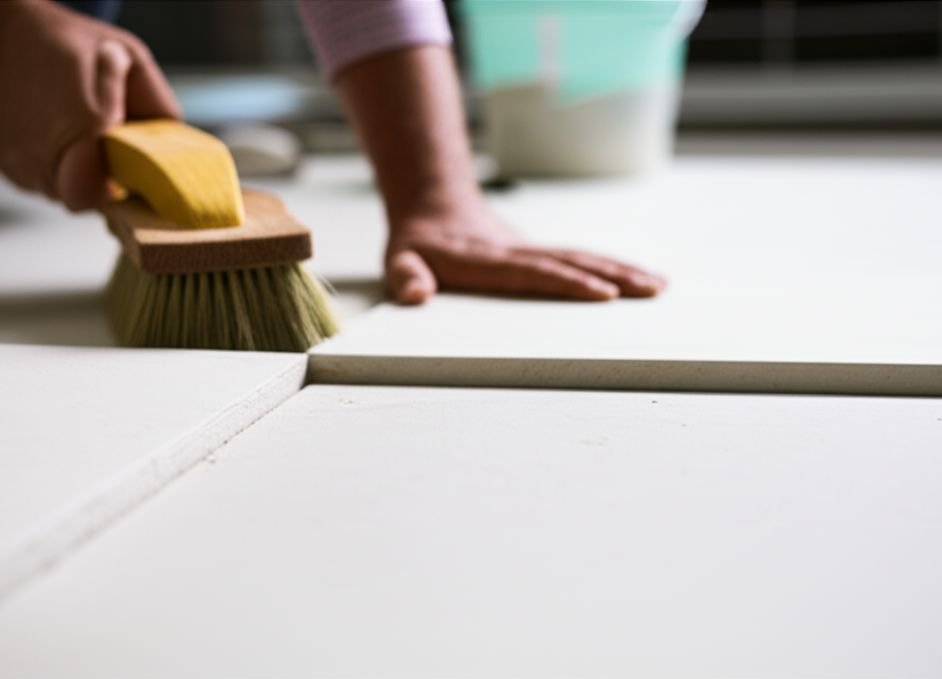
- Floor: The concrete tiles were swept to remove loose debris, followed by a deep cleaning using a mixture of water and a general-purpose outdoor cleaner. Stubborn stains were scrubbed with a stiff brush. Minor cracks in the grout were repaired using a cement-based grout filler, carefully matching the existing color. Although replacing the tiles was considered, the budget constraints led to the decision to clean and repair them as a more cost-effective solution.
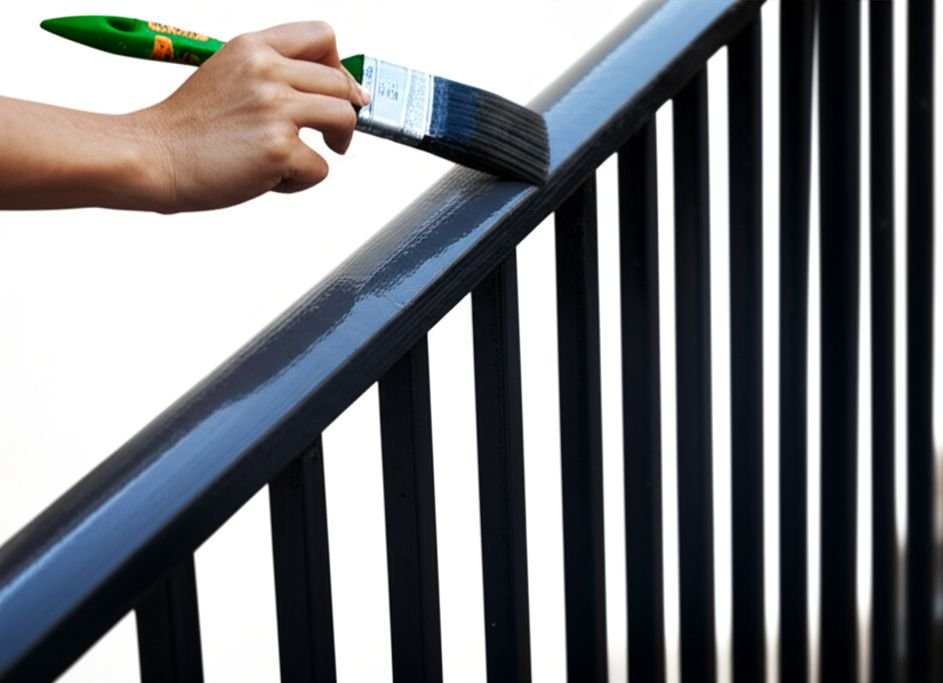
- Railing: The iron railing was cleaned with a wire brush to remove loose rust and flaking paint. Heavily rusted areas were treated with a rust converter. The entire railing was then sanded lightly to create a smooth surface for repainting.
- Walls: The balcony walls, which were part of the building’s exterior, were also cleaned to remove dust and dirt. Any noticeable stains were addressed with appropriate cleaning solutions.
This initial cleaning and repair phase significantly improved the overall appearance of the balcony and provided a clean slate for the subsequent steps.
Selecting and Installing New Flooring (Optional)
While the initial plan focused on repairing the existing tiles, the homeowner later decided to invest in new flooring to significantly enhance the aesthetic appeal. Several options were considered:
- Outdoor Rugs: A cost-effective way to add color and texture, but concerns about durability and maintenance in the local climate led to their exclusion as the primary flooring solution. They were, however, considered as an additional decorative element.
- Interlocking Deck Tiles: These offer a relatively easy DIY installation and come in various materials like wood composite or plastic. They provide a more finished look compared to plain concrete. Wood composite tiles were favored for their aesthetic appeal but their suitability for the climate (potential for fading and warping under intense sun) required careful consideration of UV resistance and material quality.
- Outdoor Porcelain Tiles: A more durable and weather-resistant option, but also more expensive and requiring professional installation. Given the small size of the balcony, the homeowner opted for high-quality, non-slip outdoor porcelain tiles in a light, neutral color. This choice aimed to brighten the space and offer longevity.
The installation process involved ensuring a level subfloor and using appropriate adhesive and grout suitable for outdoor use.
The new light-colored tiles instantly transformed the look of the balcony, making it feel cleaner and more spacious.
Repainting the Railing and Walls
A fresh coat of paint can dramatically change the appearance of any space.
- Railing: After cleaning and preparing the railing, a rust-inhibiting primer was applied to all surfaces. This is crucial for extending the lifespan of the iron and preventing further corrosion, especially in a climate with potential humidity. Two coats of high-quality exterior metal paint in a dark anthracite grey were then applied. This modern color provided a strong contrast to the lighter flooring and created a defined boundary for the balcony.
- Walls: The balcony walls were repainted in a light, off-white color specifically formulated for exterior use. This helped to reflect light and make the small space feel brighter and more open. Before painting, any minor imperfections in the wall surface were filled and sanded smooth. Two coats of paint were applied for even coverage and durability.
The new paint job gave the balcony a clean and refreshed look, setting the stage for the introduction of furniture and décor.
Introducing Comfortable and Space-Saving Seating
Given the limited space, the selection of seating was crucial. The goal was to provide comfortable seating without overwhelming the balcony. Several options were considered:
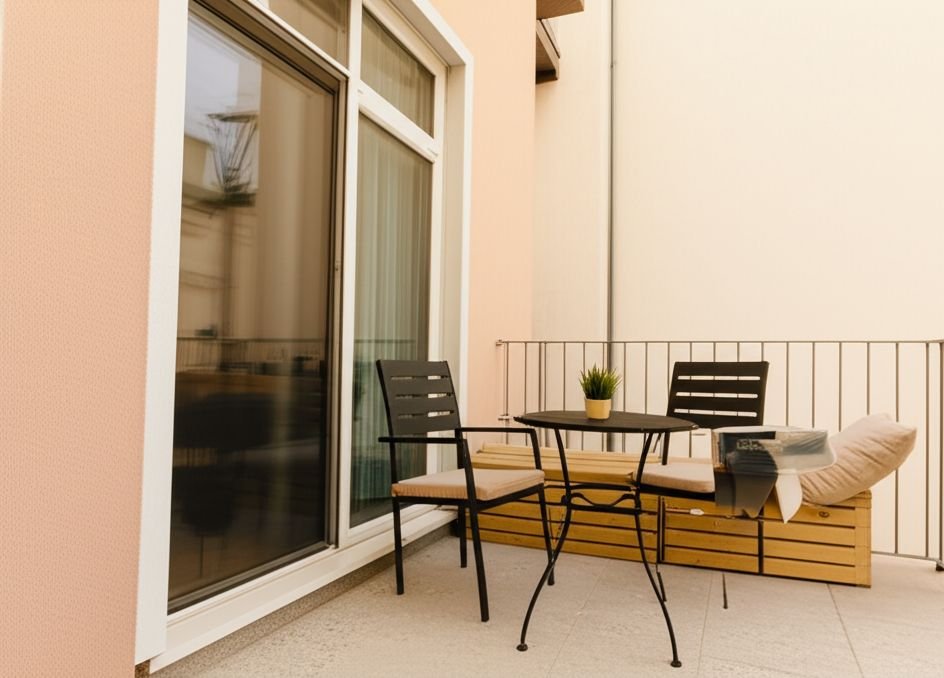
- Small Bistro Set: A classic choice for small balconies, typically consisting of a small table and two chairs. These are often foldable for easy storage, a significant advantage in limited spaces. The homeowner opted for a bistro set with lightweight, weather-resistant metal frames and comfortable cushions.
- Bench Seating: A built-in or freestanding bench can provide seating for multiple people without taking up as much floor space as individual chairs. A narrow wooden bench with storage underneath was chosen. This provided both seating and a discreet place to store small gardening tools or outdoor cushions.
- Foldable Chairs: Lightweight and easily storable when not in use, foldable chairs offer flexibility. A couple of stylish foldable outdoor chairs were added to supplement the bistro set and bench, providing extra seating when needed.
- Floor Cushions/Poufs: While comfortable, these can take up valuable floor space and may not be ideal for regular dining. They were considered as additional lounging options but not as primary seating.
The final selection focused on a combination of the bistro set, the storage bench, and a couple of foldable chairs, offering a balance of functionality, comfort, and space efficiency.
Adding Greenery: Plants and Planters
Introducing plants was a key element in creating a more inviting and natural atmosphere on the balcony. The selection of plants took into account the local climate and the amount of sunlight the balcony receives.
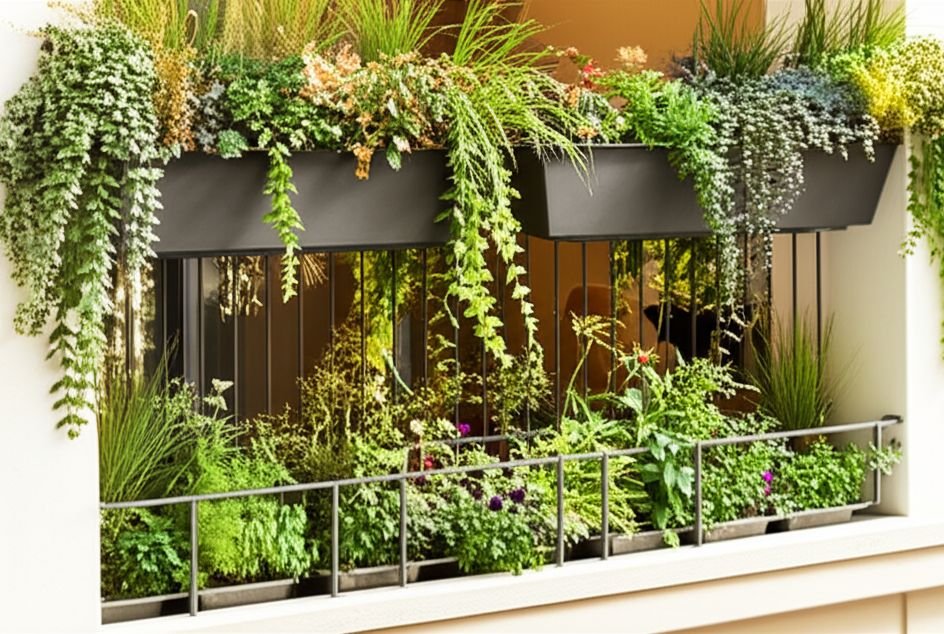
- Vertical Gardening: To maximize space, vertical gardening solutions were utilized. This included wall-mounted planters and a small vertical shelf unit to accommodate multiple pots. Trailing plants like ivy and pothos were chosen for their cascading effect and ability to soften the edges of the balcony.
- Potted Plants: A variety of potted plants were selected, considering both aesthetic appeal and suitability for the climate. Drought-tolerant succulents and herbs like rosemary and basil were chosen for their low maintenance and ability to thrive in sunny conditions. Flowering plants like petunias and geraniums were added for pops of color.
- Planter Boxes: A couple of narrow planter boxes were placed along the railing, adding greenery at eye level and creating a sense of enclosure. These were planted with a mix of small shrubs and flowering annuals.
- Consideration of Sunlight: The orientation of the balcony was taken into account when choosing plants. Sun-loving plants were placed in the sunniest spots, while shade-tolerant varieties were positioned in more sheltered areas.
Enhancing Aesthetics with Décor and Accessories
The final stage involved adding décor and accessories to personalize the space and enhance its functionality.
- Outdoor Rug: A weather-resistant outdoor rug was placed in the main seating area. This helped to define the space, add texture and color, and make the area feel more grounded and comfortable underfoot. A rug with a subtle pattern and colors that complemented the furniture and plants was chosen.
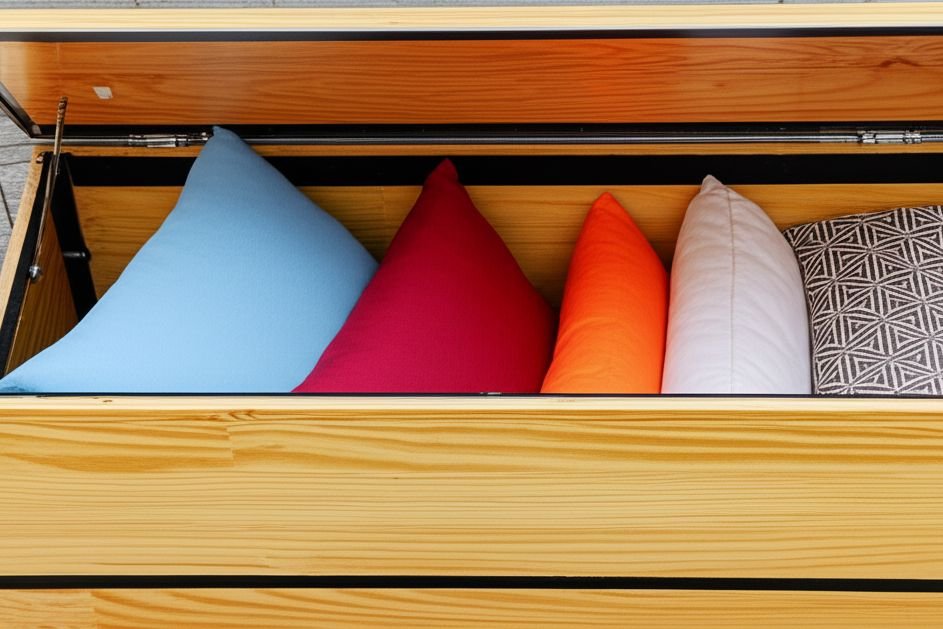
- Throw Pillows and Blankets: Weather-resistant throw pillows in coordinating colors were added to the chairs and bench for added comfort and visual appeal. A lightweight outdoor blanket was also included for cooler evenings.
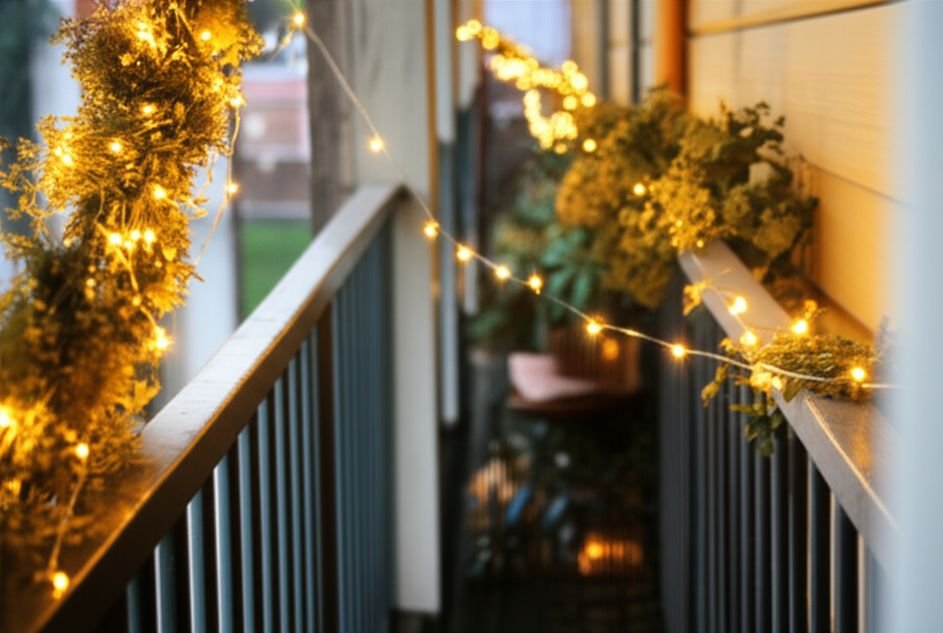
- Outdoor Lighting: To make the balcony usable in the evenings, outdoor lighting was installed. This included a string of soft LED fairy lights along the railing, creating a warm and inviting ambiance. A small solar-powered lantern was also placed on the table for localized light.
- Decorative Items: A few carefully selected decorative items, such as a small outdoor sculpture and a decorative watering can, were added to personalize the space without cluttering it.
- Privacy Screen (Optional): Depending on the proximity of neighboring balconies, a small, lightweight privacy screen made of natural materials like bamboo or woven reeds could be considered to create a more secluded feel. In this case, the existing railing provided sufficient privacy.
Organizing and Adding Practical Storage
Maximizing the limited space required careful consideration of storage solutions.
- Storage Bench: The chosen bench with built-in storage provided a place to keep cushions, small gardening tools, and other outdoor essentials neatly out of sight.
- Wall-Mounted Shelves: Small, weather-resistant shelves were mounted on the wall to hold potted plants, small decorative items, or even outdoor tableware.
- Foldable Storage Containers: When not in use, foldable storage containers can be easily stored away. A couple of these were kept on hand for temporary storage needs.
- Repurposing Existing Items: The old storage box, after being thoroughly cleaned and potentially repainted, could be repurposed for storing larger items like bags of potting soil or watering cans.
Conclusion
Refreshing a small balcony is a worthwhile project that can significantly enhance the enjoyment of one’s living space, even in an urban environment.
By carefully planning, prioritizing cost-effective solutions, and paying attention to detail, it is possible to transform an underutilized area into a charming and functional outdoor retreat.
The key is to maximize space, choose durable and weather-resistant materials suitable for the local climate, and personalize the space with elements that reflect the homeowner’s style and needs.
The “before & after” of this small balcony serves as a testament to the impact of thoughtful design and a little bit of effort in creating a more enjoyable home environment.